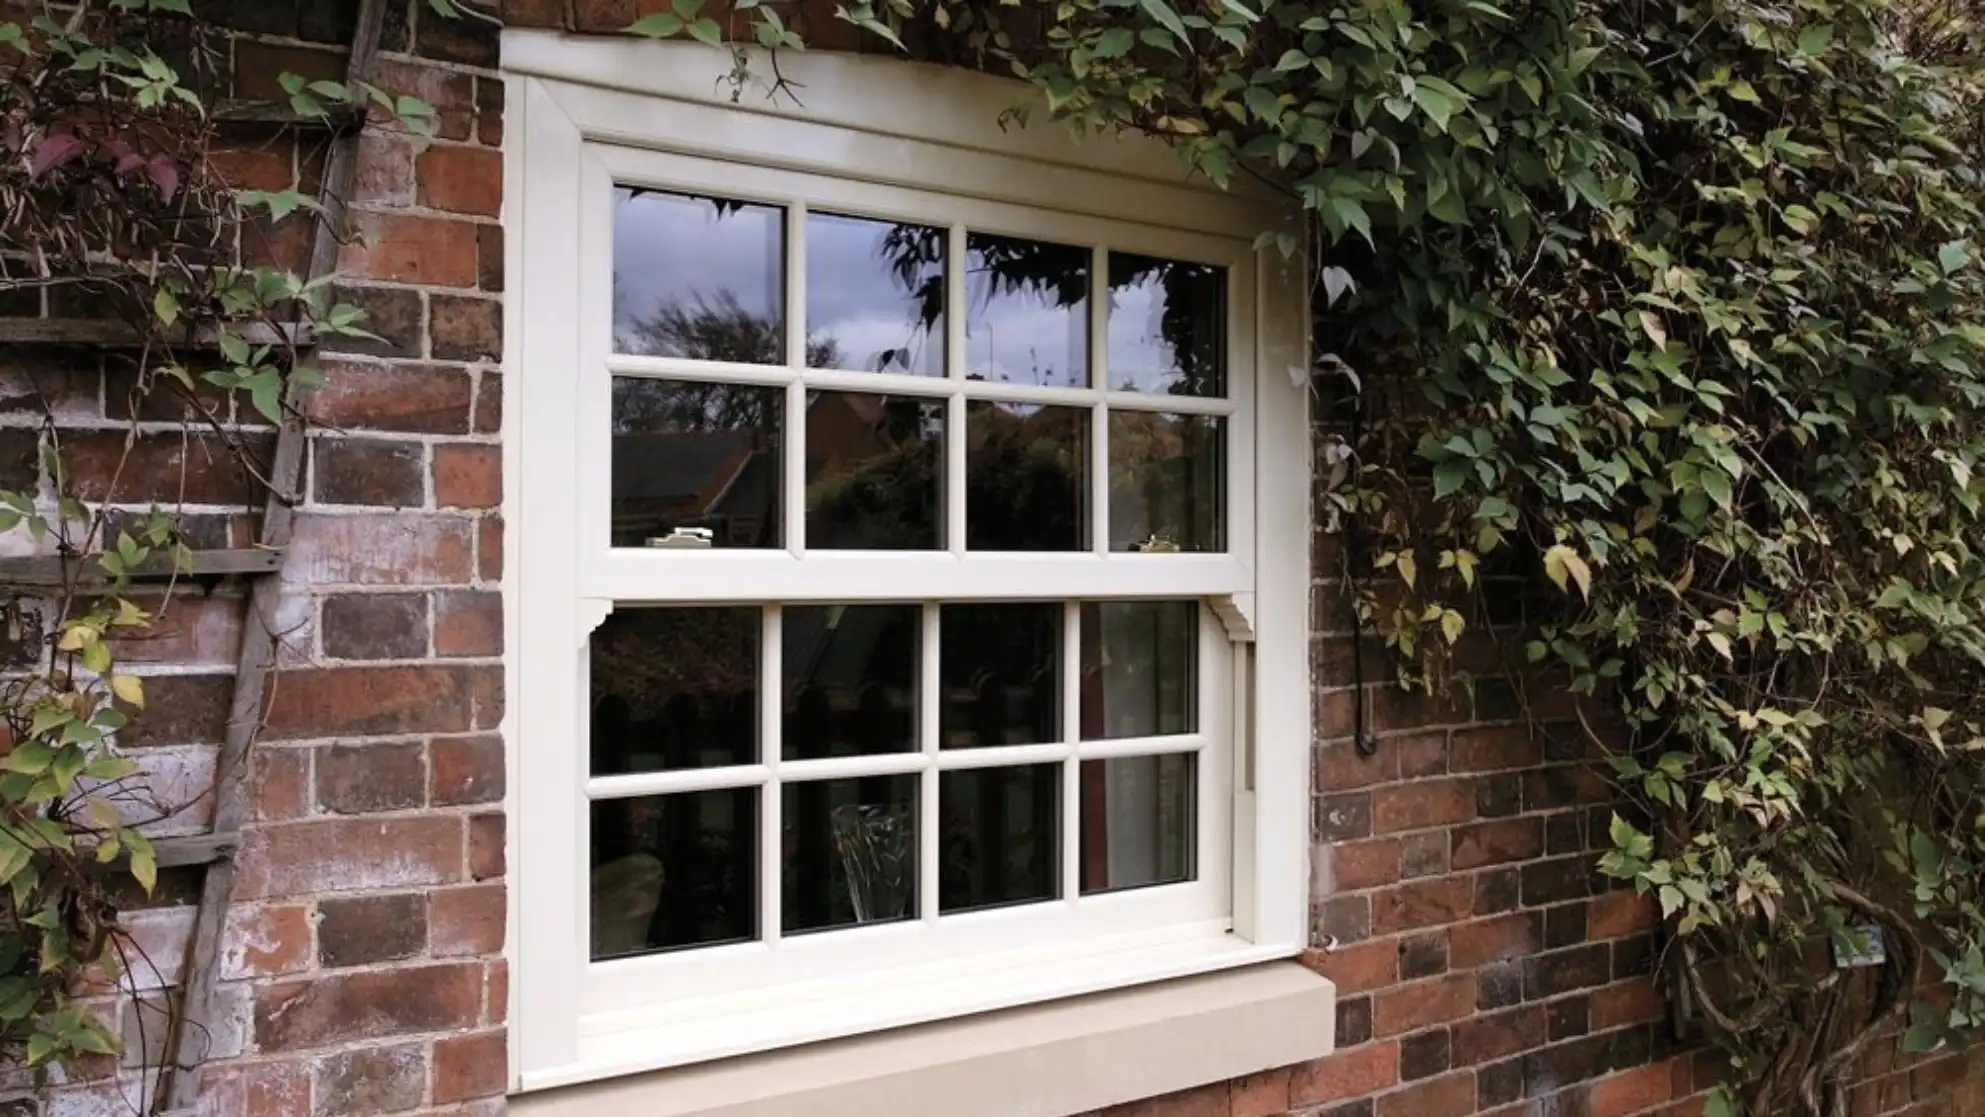
Buying your first home is exciting, right up until you notice the windows. Maybe they are misted between the panes, maybe the frames are peeling, or perhaps there is a draught that makes the curtains dance on a still day. Replacing them is one of the first big jobs many new homeowners face, and it can feel like stepping into unfamiliar territory.
How much should it cost? Who should you ask? What on earth is the difference between supply only and supply and fit? A window cost calculator is a sensible place to start, because it gives you a feel for the numbers before you speak to anyone. This guide explains how these tools work, what you need to know as a beginner and how to turn an estimate into a plan you can trust.
What Is a Window Cost Calculator?
It is a simple online tool that estimates how much new windows might cost. You enter details about your windows, such as the size, style, material and glazing, and the tool produces an approximate price. Some calculators work from typed measurements. Others, including newer AI-powered ones, can estimate dimensions from a photo of your window.
Think of it as a rough map of the territory. It will not show every bump in the road, but it will tell you roughly where you are heading.
Why First-Time Buyers Should Use One
When you have never bought windows before, there is a lot you do not know, and it is easy to feel at the mercy of whoever happens to be quoting. A calculator helps in several ways.
It sets expectations. Knowing the likely range before you start stops you being shocked, or falsely reassured, by the first quote.
It helps you plan your finances. After the cost of buying a home, money is often tight. An early estimate lets you decide whether to replace all the windows now or spread the work over time.
It teaches you what matters. Playing with the options shows you how material, glazing and size affect the price, which is a useful education in itself.
It saves time. You can get a figure in minutes, at any hour, without arranging visits.
The Basics You Need to Know
Before you start, it helps to understand a few terms you will meet along the way.
Window styles. Common types in UK homes include casement windows (hinged at the side), sash windows (sliding up and down), tilt and turn windows (which open two ways) and fixed windows (which do not open).
Materials. uPVC is popular because it is affordable and low maintenance. Timber is traditional and often preferred for period homes. Aluminium is slim and strong, and tends to be used in more contemporary designs.
Glazing. Most new windows are double glazed, with two panes separated by a sealed gap. Triple glazing adds a third pane for extra insulation, though it is heavier and costs more.
Supply only vs supply and fit. Supply only means you buy the windows and arrange installation yourself. Supply and fit includes installation by the company. The difference in price can be considerable.
FENSA and building regulations. In England and Wales, replacement windows generally need to comply with building regulations. Installers registered with a competent person scheme such as FENSA can self-certify their work. Always ask about this before you hire anyone.
How to Use a Window Cost Calculator Step by Step
1. Count and measure your windows
Walk around the house and make a list of every window. Measure the width and height of each in millimetres, at more than one point, and use the smallest figure. If you prefer, take a clear, straight-on photo of each window for a photo-based tool.
2. Choose your style and material
Think about what suits your property. If you live in a period home, timber or a traditional style may be more appropriate. In a modern house, uPVC or aluminium may fit better. If you are unsure, try two or three options and compare.
3. Pick your glazing
Standard double glazing is fine for most homes. If you live on a busy road or want better energy performance, try an upgrade and see how much it changes the price.
4. Decide on installation
Be realistic about whether you can fit windows yourself. For most people, professional installation is the sensible choice, and it usually comes with a guarantee.
5. Review the estimate
Look at the figure as a range rather than an exact number. Save it, along with the specification you chose, so you can compare it with quotes later.
What Affects the Price?
As a first-time buyer, it helps to know what moves the number up and down.
- Size and number: bigger windows and more of them cost more.
- Material: timber generally costs more than uPVC.
- Style: sash and bespoke windows are usually pricier than standard casements.
- Glazing specification: upgrades add to the cost.
- Finish and colour: non-standard colours and premium hardware cost extra.
- Installation and access: upper floors and awkward access increase labour costs.
- Location: labour rates vary around the UK.
What a Calculator Cannot Tell You
It is important to understand the limits. A calculator cannot see:
- Rotten sills, damaged lintels or crumbling plaster
- Openings that are out of square
- Planning restrictions, such as those in conservation areas or on listed buildings
- Access difficulties that might add to labour costs
That is why every estimate should be followed by a survey, and why it is wise to add a contingency of around 10 to 15 per cent to your budget.
Mistakes First-Time Buyers Often Make
Treating the estimate as a fixed price. It is a guide, not a contract.
Comparing quotes that are not like for like. Make sure each one covers the same specification and the same work.
Choosing the cheapest option without checking quality. Poor windows or poor fitting can cost more in the long run.
Forgetting about planning rules. If your property is listed or in a conservation area, check before ordering anything.
Not asking about guarantees. A good installer will provide clear warranties on both the product and the workmanship.
Rushing. Do not feel pressured by “today only” offers. A genuine price should still be there tomorrow.
From Estimate to Installation: What Happens Next?
Once you have your estimate and have settled on what you want, the process usually looks like this:
- Request two or three written quotes. Give each supplier the same specification.
- Compare them carefully. Check what is included, such as removal, disposal and making good.
- Arrange a survey. A professional will confirm measurements and check the condition of the openings.
- Confirm the specification. Review everything before manufacturing starts.
- Book the installation. Allow time for manufacturing, which can take several weeks.
- Check the finished work. Make sure you receive the relevant certificates and guarantees.
Final Thoughts
Replacing windows for the first time can feel overwhelming, but it does not have to be. Start with a clear idea of what you have, use a window cost calculator to understand the likely range, and then move on to proper quotes and a survey. Ask questions, keep a contingency and take your time.
The more you understand before you begin, the more confident you will feel when decisions need to be made. With a bit of preparation, your first window project can be a smooth, well-managed upgrade, and a great step towards making your new home feel exactly right.